-
Prep Time25 mins
-
Cook Time35 mins
-
Serving8
-
View
Directions
Preheat the oven to 400 degrees F (200 degrees C). Line a sheet pan with parchment paper. Sprinkle about 1/2 tablespoon flour in the center of the pan.
Following manufacturer’s instructions, bring refrigerated pie crust to room temperature.
In a medium mixing bowl, toss pear slices with lemon juice. In a small bowl, combine brown sugar, cornstarch, ground ginger, and salt. Sprinkle dry ingredients over pear slices and toss to coat.
Unroll pie crust and place in the center of the prepared pan. Sprinkle remaining flour over crust, and roll into a 12-inch circle.
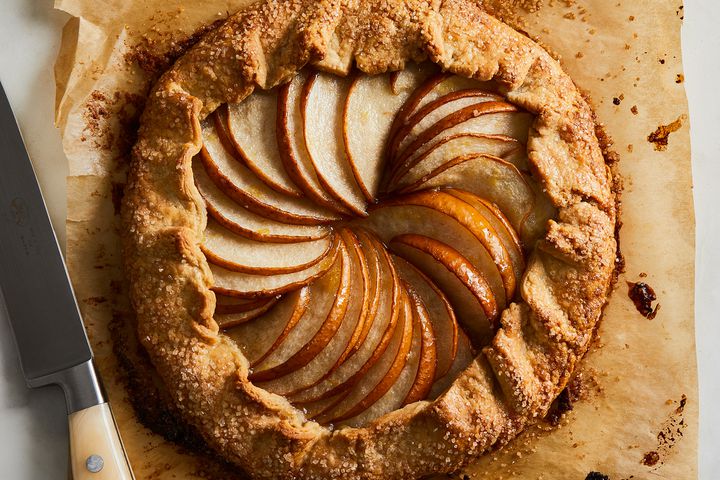
Beginning 2 inches from the edge of the pie crust, arrange pears on the dough in a pleasing design all the way around. Stack any extra slices in the center. Dot with butter, and drizzle any remaining juices in the bowl over the sliced pears.
Fold the edges of the crust over pears, making a pleat every few inches, as necessary. If the pleats don’t want to hold, lightly moisten with wet fingertips. Lightly brush crust with beaten egg.
Bake in the center of the preheated oven until crust is brown and pears are bubbly, 35 to 40 minutes.
Remove galette from the oven. Stir pear or lemon curd together with bourbon in a microwave-safe bowl. Microwave on High until mixture bubbles, about 1 minute. Brush mixture over pear filling. Sprinkle candied ginger over all.
Using the parchment paper, slide the galette onto a cooling rack and allow to cool completely.
When ready to serve, use parchment paper to transfer to a serving dish or cutting board, then hold the galette in place and slide the parchment paper out. Cut into 8 wedges and serve.
Conclusion
Enjoy :)


Recipe Reviews